How to Set up the Frequency of VFD to 400Hz?
Variable frequency drive (VFD) is an essential component in industrial applications that controls the speed and torque of electric motors by varying the frequency and voltage supplied to the motor.
In today's article, we're going to guide you through the process of setting up the frequency of VFD to 400Hz. This adjustment is crucial for optimizing the performance of the variable frequency drive according to specific operational requirements.
Step-by-Step Setup Guide
Step 1: Power on and Connect the VFD
To begin, ensure the VFD unit is powered on. Remove the cover on the terminal block and establish the necessary connections as indicated in the setup instructions.
Step 2: Locate Frequency Control Settings
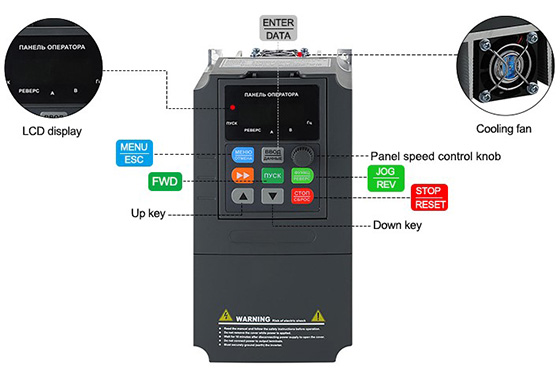
Identify the frequency control settings on the control panel. Note that the organization of these settings may vary depending on the specific model of the VFD. Refer to the product manual for precise guidance.

Step 3: Adjust Frequency Setting to 400Hz
- Enter Menu Settings: Press the Menu button on the control panel to access the menu settings.
- Set Frequency Command Resolution (P0.21): Navigate to parameter code P0.21 using the navigation keys. This parameter adjusts the Frequency Command Resolution. Change the value from 2 to 1 to adjust the resolution from 0.01Hz to 0.1Hz. Press Enter to confirm.
- Configure Control Mode (P0.00): Use the navigational buttons to switch to parameter P0.00. Change the value from 1 to 0 to select V/F control over sensorless vector control (SCV). Confirm and exit the menu.
- Select Main Frequency Source (P0.01): Modify from 0 to 1 if you wish the frequency settings to be retained during power failures.
- Set Command Source (P0.03): Change from 1 to 0 to utilize the operation panel for controlling the VFD.
- Determine Rotation Direction (P0.04): Specify whether the rotation direction should remain the same or be reversed.
- Adjust Maximum Frequency (P0.05) and Frequency Upper Limit (P0.06): Set both parameters to 400Hz to match the desired operating frequency. Confirm the settings.
- Set Lower Frequency Limit (P0.07): Configure this parameter to 0Hz as the starting frequency.
- Fine-tune Acceleration (P0.12) and Deceleration Time (P0.13): Adjust these parameters to 20 seconds each to ensure smooth transitions.
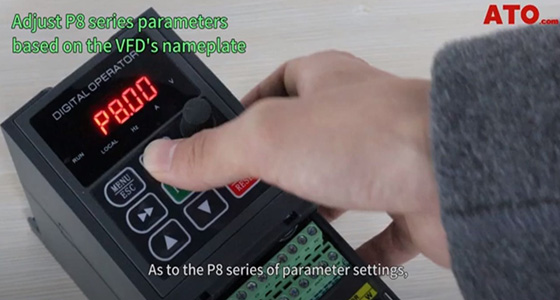
Step 4: Additional Parameter Adjustments (P8 Series)
Tailor settings in the P8 series based on the specific specifications provided on the model’s nameplate. These adjustments optimize performance and compatibility.

Step 5: Final Adjustment and Testing
- Return to Main Interface: Press the ESC button to exit parameter settings and return to the main interface.
- Adjust Frequency: Utilize the input dial to precisely increase or decrease the frequency until it reaches the target value of 400Hz.
- Conduct Test Run: Execute a test run to verify that the VFD operates smoothly at 400Hz. Observe the frequency displayed on the screen as it ramps up to the desired level.
- Control Mode Verification: Verify functionality by adjusting the frequency control knob, confirming the panel control mode.
- Shutdown Procedure: Gradually reduce the frequency by pressing the STOP/RESET key until it returns to 0.
In conclusion, setting up the frequency of the VFD to 400Hz involves a systematic approach to ensure optimal performance. Always adhere to safety procedures outlined in the product manual. Should you encounter any issues or unexpected behavior, refer to the manual or contact technical support for assistance.
If you don’t understand anything about this blog, you can refer to the following video. In addition, ATO online store offers various VFDs, including single-phase VFD, single-phase to three-phase VFD, three-phase VFD, and more, to meet your different needs.

