How to Connect and Set Timer Relay?
Digital timer relay has the advantages of accurate measurement, simple setting, multiple protection functions and high speed, etc. It is an ideal substitute for traditional electromagnetic and static relays. Digital time relay is generally used in automation equipment electrical cabinet, street lamp control, water pump timing operation control, equipment timing start and stop control and other occasions. In this article, we will experiment to see how it is set up and works.

This is the base of its terminals, 8 terminals in total, the base can also be mounted on the standard DIN rail, you can see the base has an anti-misloading opening, according to the opening direction can be mounted on the base.

According to the working principle diagram of the digital time relay, make a simple wiring, with two button switches, namely reset and hold. It will then be used to control LED lights.

Long press the "SET" key for three seconds to enter the setting state. "t" stands for timing unit setting segment, "S" stands for second, "n" means mintue, "h" means hour.
Press "SET" to confirm the setting and then automatically switch to "out" output hold time setting section. The output time can be SET from 0.0 to 999.9. "F" is the timing mode; "up" is from small to large, while "dn" is from big to small; "y" is the loop mode setting section; "0" means single cycle; "1" indicates continuous loop; "2" means single cycle of power-down memory; "no" means allowing the parameter setting, and "yes" means locking the parameter setting. Return to the timing interface after setting.

Timing
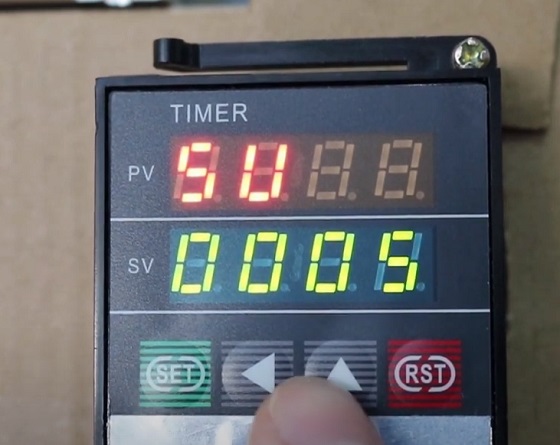
Press "RST" to start timing. Press "SET" to enter "SU" to modify the current timing. Press "RST" again to start re-timing.
Test
Press "RST" to start timing. The LED light immediately turns from red to green. And the light turns red again after timing is completed. Press the external "SET" button and the timer starts timing as well. Press the external "GATE" button and the timer pauses. Release the "GATE" button and the timer continues timing. When these steps are complete, the test ends.

If you want to learn more about digital timer relay, check out the video below.
